By the Fly Shiny team · Updated July 2026 · Based on 1,000+ SR22 washes alongside a Cirrus Service Center
Quick answer: To clean a Cirrus SR22, start under the belly — remove oil, grease, and hydraulic fluid with Fly Shiny Oil Delete, then exhaust soot with Carbon Blitz, working back to the tail. Clean bugs off the wheel pants, flaps, and leading edges with enzyme-based Bug Blitz, dry wash the entire airframe with Quick Turn, then neutralize the belly. Protect the composite airframe with Static Guard every 3 to 6 months.
That's the short version. Below is the exact process we use, why each product is safe on this specific airframe, and the mistakes that damage SR22s.
@GEARDOWN about to Fly Shiny -

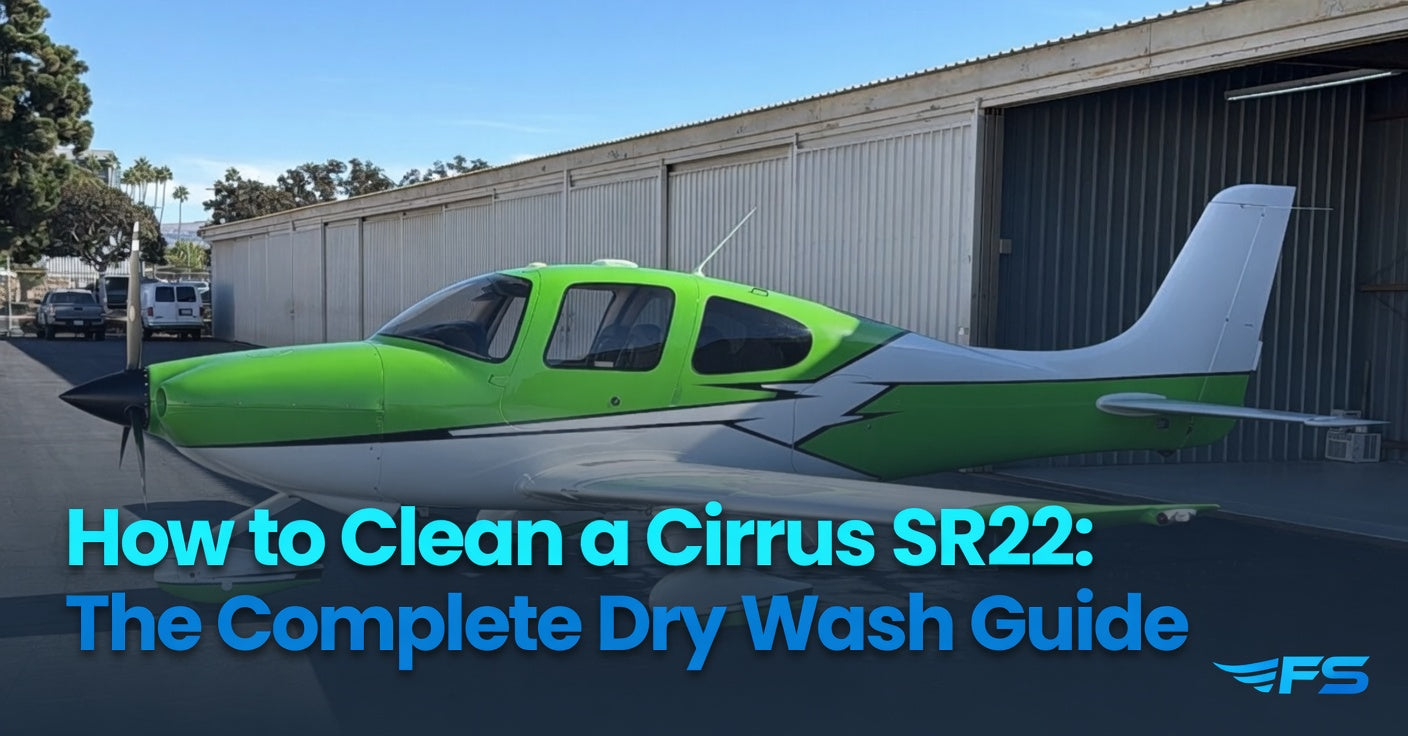
This striking lime-green Cirrus (N160CP) belongs to longtime client and YouTube pilot Gear Down. After a full transformation that included new paint, avionics, engine, propeller, and interior, the aircraft still looks fresh years later thanks to consistent dry-wash maintenance with Fly Shiny products. Regular use of our waterless dry wash, bug remover, and protective coatings keeps the vibrant paint protected from UV, bugs, exhaust, and ramp grime without traditional wet washes. You can follow his flying adventures and grab merch at shopgeardown.com.
SR22 Cleaning at a Glance
| Contaminant | Product | Where on the SR22 | Why it's safe |
|---|---|---|---|
| Oil, grease, hydraulic fluid | Fly Shiny Oil Delete | Belly, behind the cowl | Non-flammable, composite- and paint-safe, won't soften paint |
| Exhaust soot | Fly Shiny Carbon Blitz | Belly, back to the tail | No hydrogen embrittlement, won't corrode or etch paint |
| Bugs | Fly Shiny Bug Blitz | Leading edges, wheel pants, flaps, windows | Enzyme-based — attacks the bug, not the aircraft; safe on all surfaces including acrylic |
| Everything else | Fly Shiny Quick Turn | Entire airframe | Waterless dry wash that lubricates as it cleans and neutralizes cleaner residue |
| Protection | Fly Shiny Static Guard | Airframe + acrylic windows (never glass) | Anti-static wax — reduces the static that pulls dust onto composite airframes |
Why Is Cleaning a Cirrus SR22 Different From Other Aircraft?
The SR22 is the best-selling piston single in the world, and it's built differently than most of the industry: a composite airframe, clear-coated paint, acrylic windows, and fixed gear with wheel pants that catch everything the prop and runway throw at them. Composite also builds static charge, which pulls hangar dust right back onto surfaces you just cleaned. That combination means the SR22 rewards the right process — and punishes the wrong products.
We've cleaned over 1,000 Cirrus SR22s — our team has worked alongside the maintenance shop at Coast Air Center, a Cirrus Service Center in San Diego — and this is the exact dry wash process we use on every one of them. No water, no runoff, no caustic chemicals — just a systematic wash you can do in the hangar.
And cleaning is preventative maintenance, not cosmetics. Bug remains are acidic and etch paint. Exhaust soot turns corrosive when it mixes with moisture. Oil holds dirt against your clear coat. Washing removes contamination before it does damage — and puts your hands and eyes on every inch of the airframe, which is how small problems get caught early.
What Do You Need to Wash a Cirrus SR22?
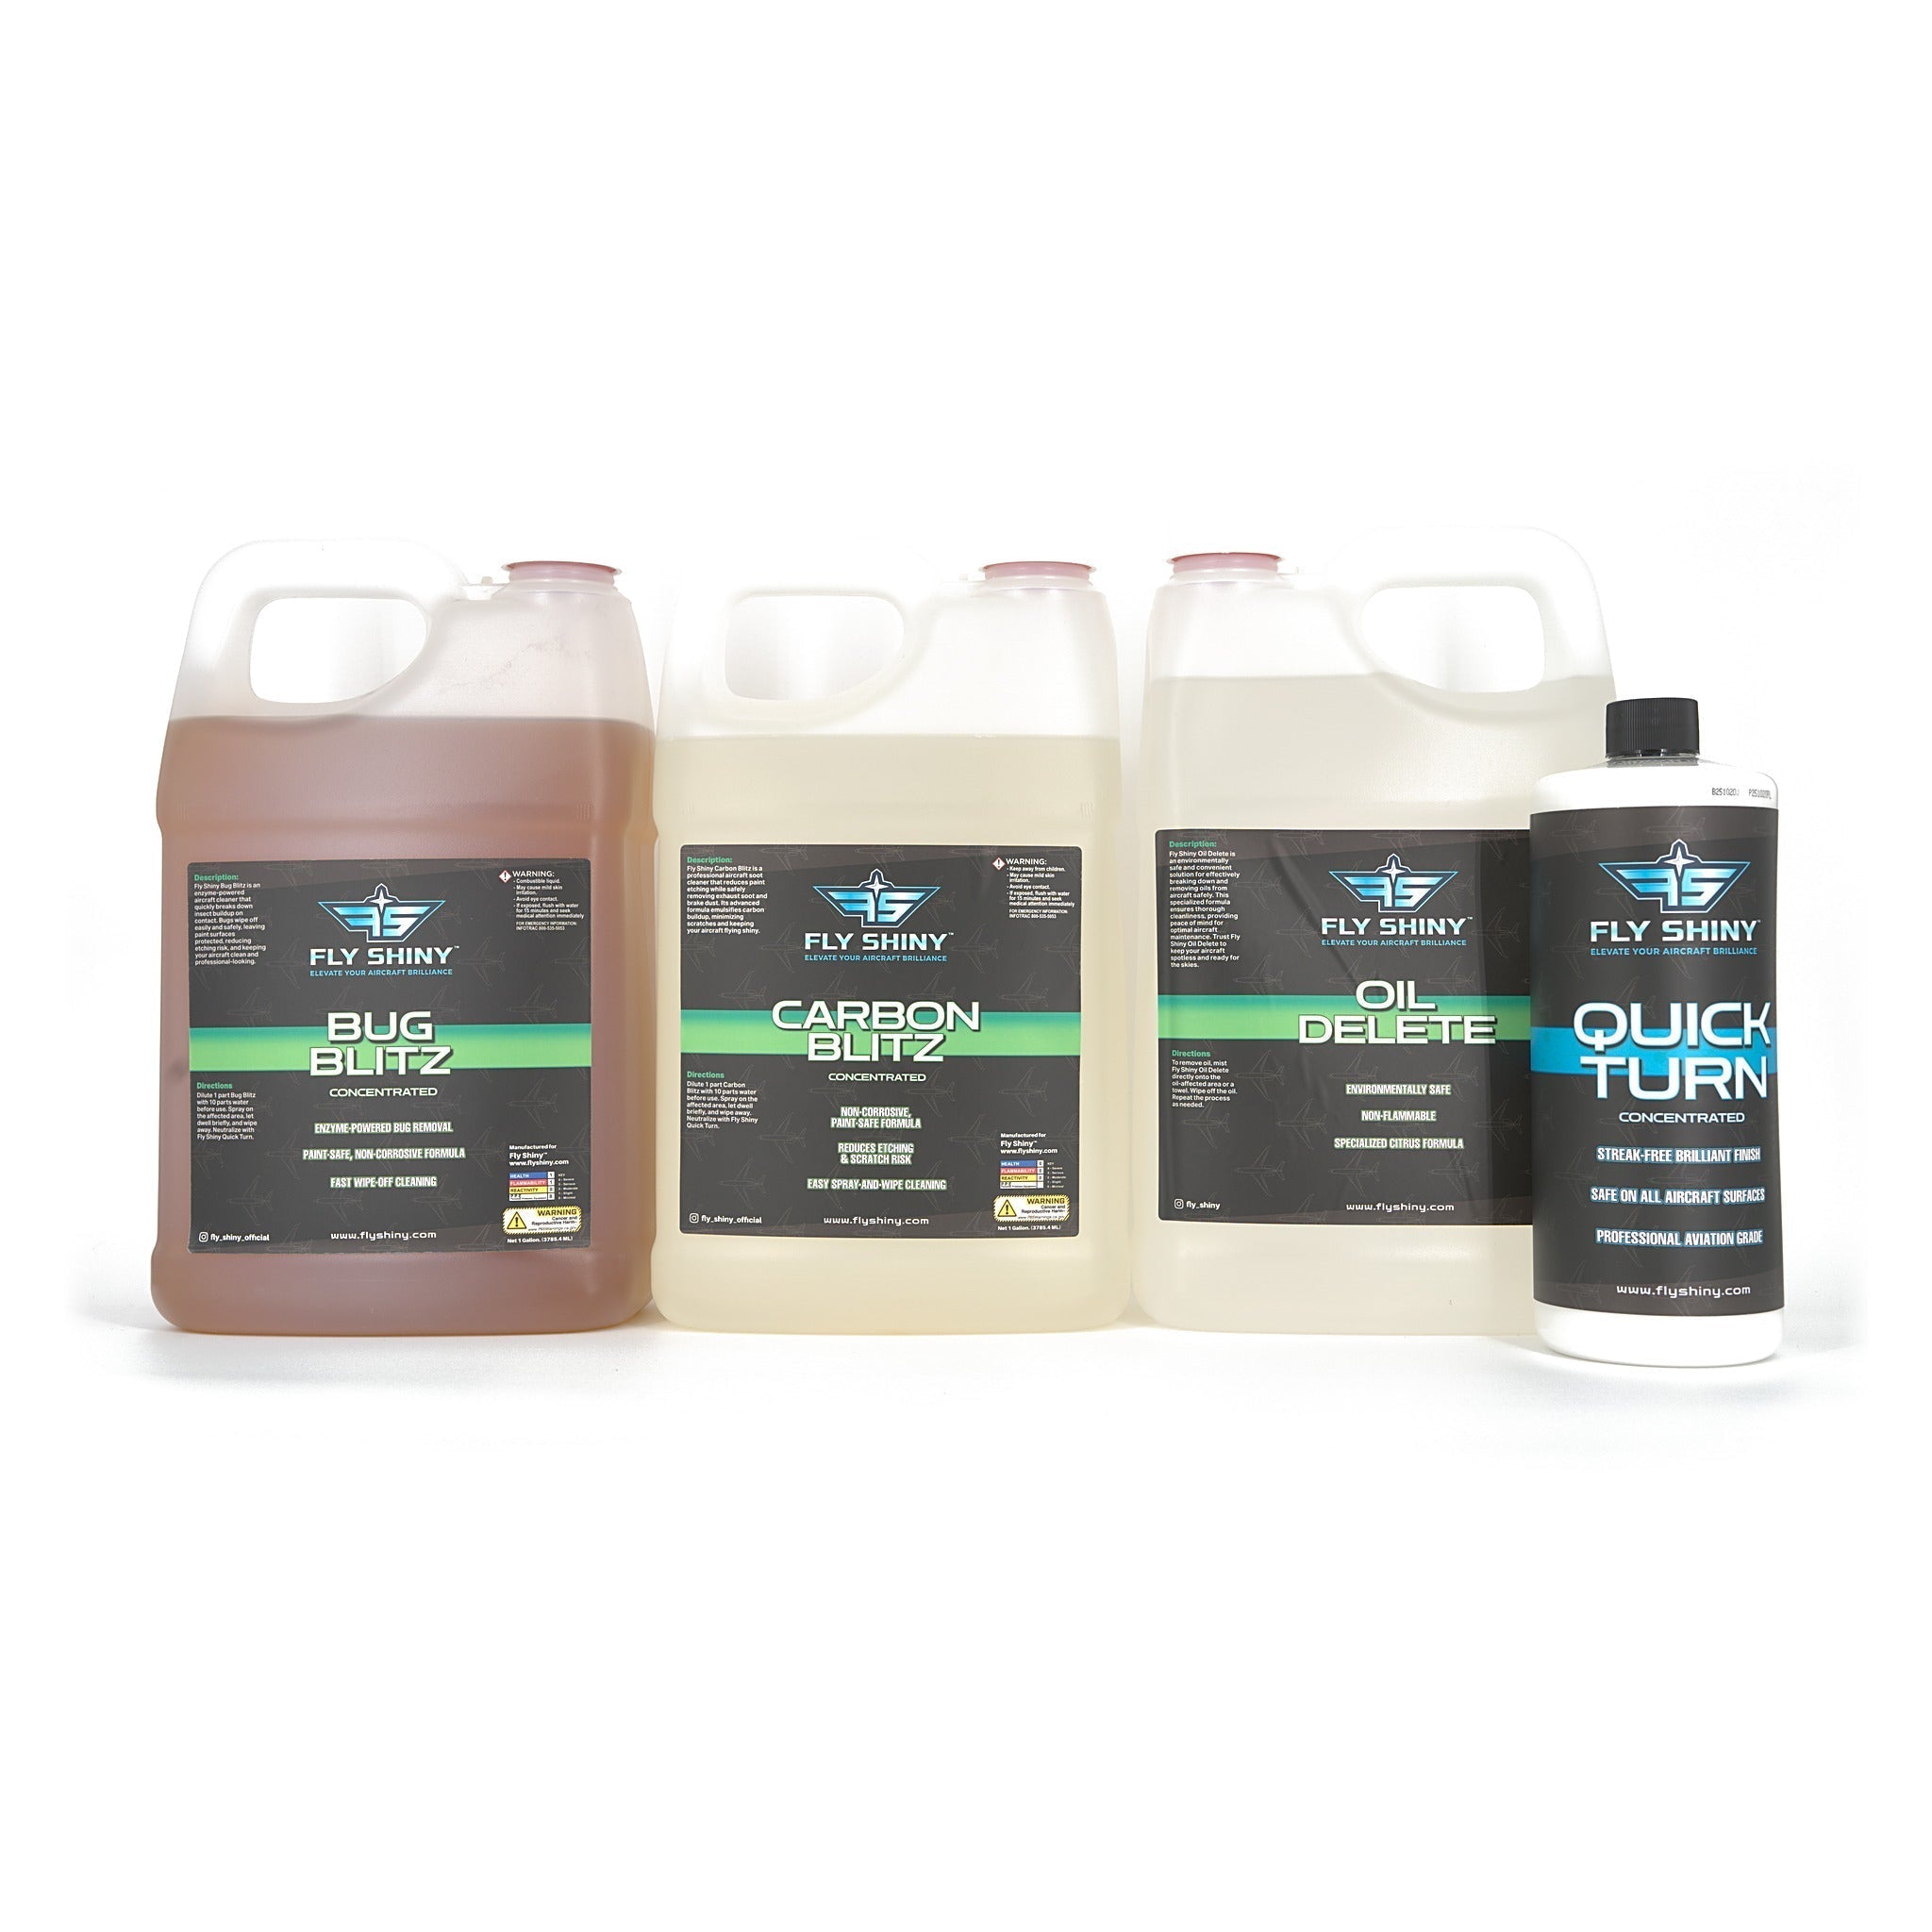
- Fly Shiny Oil Delete — oil, grease, and hydraulic fluid on the belly
- Fly Shiny Carbon Blitz — exhaust soot
- Fly Shiny Bug Blitz — bug removal on leading edges, wheel pants, flaps, and windows
- Fly Shiny Quick Turn — the dry wash for the whole aircraft, and the neutralizing step at the end
- Twisted-pile microfiber towels, plus a dedicated window towel
- Disposable cotton terry towels for the belly
- Pitot and static port covers (residue-free tape works in a pinch)
Before You Start: The SR22 Pre-Wash Checklist
Do a walkaround first. Note any existing damage, and look for leaks — if you find one, stop and tell the owner or mechanic before you clean. Cleaning over a fresh leak erases the evidence a mechanic needs to trace it.
Then: close the doors and windows, cover the pitot tube and static ports, and know where the stall-warning inlet sits on the leading edge before you start wiping around it. Note the CAPS cover seam on the aft fuselage — one more reason a dry wash beats a pressure washer is that nothing gets forced into seams that should stay sealed.
How to Dry Wash a Cirrus SR22, Step by Step
Step 1: The belly — oil first, then exhaust
Every SR22 wash starts under the aircraft, because the belly is where the worst contamination lives.
Start behind the engine cowl with Oil Delete on the oil, grease, and hydraulic fluid. Spray it onto a terry towel and wipe the residue free. Oil Delete is non-flammable and composite- and paint-safe — it won't soften the paint the way harsh solvents can, which matters on an airframe like this. Oil delete instantly softens engine oil so no scrubbing is necessary. If the cleaner doesn’t soften the oil on the belly you have to scrub hard and it will scratch the paint.
Then move to the exhaust soot with Carbon Blitz, working all the way back to the tail. Carbon Blitz breaks the soot's bond with the paint without causing hydrogen embrittlement, and it won't corrode the airframe or etch the paint. You don't need to chase every streak right now — once the oil and soot are broken free, the final dry wash pass pulls the residue with it.
Step 2: Wheel pants and flaps
The SR22's wheel pants sit low and forward of everything, so they collect bugs, grass, and brake dust like nothing else on the airframe. Hit the wheel pants and the flaps with Bug Blitz and wipe them clean.
Step 3: Upper surfaces — Quick Turn plus Bug Blitz
Spray Quick Turn over the section you're cleaning. Wherever there are bugs — leading edges, cowl, windscreen — spray Bug Blitz over the top of it and let it dwell for 30 to 60 seconds.
That dwell time matters. Bug Blitz is an enzyme-based cleaner: the enzymes attack and emulsify the bug remains, not the aircraft. There are no caustic chemicals that degrade paint, composite, or window material, which is why it's safe on every surface of the SR22 — windows included. Once the bugs soften, they wipe off without abrasion. If a stubborn one hangs on, spray again and let the chemistry work rather than scrubbing. Pressure is what scratches paint; dwell time is free.
FIKI note: if your SR22 has TKS ice protection, clean the porous panels with Quick Turn and Bug Blitz only — across 1,000+ SR22 washes we've never had an issue with either product on TKS strips. Just keep waxes and sealants off the panels; you don't want anything clogging those laser-drilled holes.
Step 4: Dry wash the whole aircraft
Work around the airframe wiping everything down with Quick Turn and a twisted-pile microfiber towel, top to bottom. Quick Turn's surfactants lift the dirt while its lubricants let the towel glide over the paint instead of dragging contaminants across it — that's how you dry wash without micro-scratching. It leaves the clear coat clean, streak-free, and noticeably glossier.
Do the windows with a clean, dedicated window towel, wiping in the direction of airflow. Bug Blitz already handled the bugs; Quick Turn finishes them crystal clear.
Step 5: Back under the belly — neutralize everything
Finish where you started. Wipe the entire belly down with Quick Turn to neutralize and remove every trace of the cleaners you used in Step 1. This step is not optional: cleaner residue left on paint promotes corrosion over time. Quick Turn lifts it all off and leaves the belly protected instead.
Do a final quality-control walkaround, pull your pitot and static covers, and you're done.
What Should You Do After the Wash? Decontaminate, Polish, Protect
The dry wash above is your regular maintenance routine. A few times a year, while the aircraft is clean, take it through the full protection process.
1. Decontaminate the paint with a clay bar pad
Even freshly washed paint holds bonded contaminants a towel can't lift. Run a clay bar pad over the paint using Quick Turn as your lubricant — the pad shears off the bonded contamination and leaves the clear coat glass-smooth, exactly the surface you want before polishing. Keep the pad on flat surfaces only; never run it over fasteners, seams, or panel overlaps. Do the tight areas by hand with the pad off the machine.
2. Polish the clear coat with Polish Pro
The SR22 wears clear-coated paint, and clear coat responds beautifully to machine polishing. Fly Shiny Polish Pro removes oxidation, swirls, and fine scratches and brings the depth and gloss back.
Here's the rule that matters: oxidation comes off before protection goes on. Sealing over oxidized paint locks the damage in and shortens the life of whatever you apply on top.
3. Protect with Static Guard — reapply every 3 to 6 months
Composite airframes build static — it's why a freshly cleaned SR22 is wearing a coat of hangar dust two days later. That's what makes Fly Shiny Static Guard our protection of choice on Cirrus aircraft. It's a wax that reduces static buildup on the airframe, so dust has a harder time clinging in the first place. Apply it once the paint is polished, and reapply every 3 to 6 months.
Static Guard is also safe on the SR22's acrylic windows (never use it on glass), so you can protect the windscreen and side windows with the same product — bugs and grime wipe off easier on the next wash.
Prefer ceramic? Fly Shiny Air Guard is a spray ceramic that adds a hydrophobic, UV-resistant layer in a simple spray-and-wipe application.
How Often Should You Wash and Protect an SR22?
Fly it more, wash it more. Coastal and outdoor-tied-down aircraft need attention more often than hangared inland aircraft. As a baseline: wipe down bugs and the belly after long cross-countries, run this full dry wash on a regular cycle, and keep Static Guard on the airframe every 3 to 6 months. Wash chemicals are cheap; paint jobs are not.
Cirrus SR22 Cleaning FAQ
Can I use automotive cleaning products on my SR22?
We don't recommend it. Automotive products aren't formulated for aviation composites, clear coats, and acrylic windows, and some contain solvents or caustic chemicals that can soften paint or craze acrylic. Everything in this guide is aviation-specific and safe for the SR22's surfaces.
Can you pressure wash a Cirrus SR22?
We don't. Pressure washing forces water into panel seams, static ports, and around the CAPS cover — places water shouldn't be. A dry wash cleans the entire airframe with zero water intrusion risk and no runoff.
Is Bug Blitz safe on the windscreen?
Yes. Bug Blitz is enzyme-based — it attacks the bug remains, not the surface — and it's safe on every surface of the aircraft, acrylic windows included.
What removes exhaust stains from the belly of an SR22?
Fly Shiny Carbon Blitz. It breaks the soot's bond with the paint without hydrogen embrittlement, corrosion, or etching, then a Quick Turn wipe-down neutralizes and removes the residue.
Is it safe to clay bar aircraft paint?
Yes, with a clay bar pad and a lubricant like Quick Turn, on flat surfaces only. Never run the pad over fasteners, seams, or panel overlaps — decontaminate those areas by hand.
Can I wax over lightly oxidized paint?
Remove the oxidation first. Protection applied over oxidation seals the damage in and won't last. Polish with Polish Pro, then protect with Static Guard or Air Guard.
How often should I reapply Static Guard?
Every 3 to 6 months. If you fly a lot or the aircraft lives outside, stay closer to 3.
What about my TKS panels?
Clean them with Quick Turn and Bug Blitz only — we've used both across 1,000+ SR22 washes without a single issue on TKS strips. Keep waxes and sealants off the porous panels so nothing clogs the holes.
About Fly Shiny: Fly Shiny makes aviation-grade detailing chemicals formulated from 15 years of professional aircraft detailing experience. Our team has cleaned over 1,000 Cirrus SR22s working alongside a Cirrus Service Center in San Diego, California. Every product in this guide is available at flyshiny.com. Next in this series: the Cirrus Vision Jet.


Leave a comment
This site is protected by hCaptcha and the hCaptcha Privacy Policy and Terms of Service apply.